
 With
new developments coming forward these days in the Web Development
field, many new opportunities are now available to further optimize your
page, while avoiding heavy JavaScript and difficult coding for newer
people. Using Compression is one of the main ways. Let’s get onto the
techniques, shall we?
With
new developments coming forward these days in the Web Development
field, many new opportunities are now available to further optimize your
page, while avoiding heavy JavaScript and difficult coding for newer
people. Using Compression is one of the main ways. Let’s get onto the
techniques, shall we?
Note: Please
save all of your files in a folder just in case you ever need to edit
them. Keep all the compressed files which we will make, in a separate
folder such as a publish folder.
If you have a Blogger account just download your template from the box above the editor.
If you have a Blogger account just download your template from the box above the editor.
CSS Compression:
Decreasing
page size will ultimately reduce load time and make your webpage more
SEO friendly. The first step is to compress your CSS. I would recommend
keeping one copy for later editing, and one copy for compression. Go to CSS drive,
and select whichever options you want for compression (I recommend
Super compact, and strip all comments). After you have submitted your
CSS, either put it into an embedded style sheet, or use an external
style sheet, whichever you prefer.

HTML Compression
Lastly, we are going to compress our html. Go to Text Fixer
and paste your entire html markup there. After it is compressed, you
may paste it into the blogger editor, or into your webpage file. This
will remove all comments, spaces etc. However, for editing purposes, I
would still recommend keeping a separate copy in case you need to change
your template.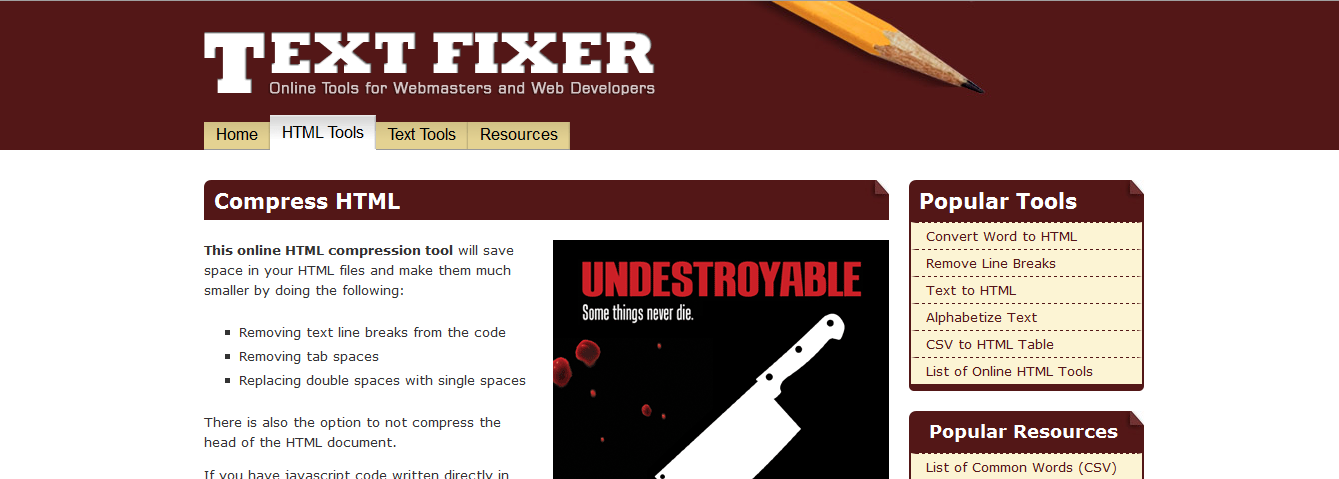
Part 2
To read the remaining part of the tutorial guide kindly click the link below,
If you find any other good/better services, or have any questions or concerns, please leave a comment below! That’s it for part 1! I hope you have fun improving the load time and speed of your site or blog(s)! :>